
WordPress & WooCommerce
This guide walks you through installing the Ruby Relay plugin on WordPress and WooCommerce. The whole thing takes about two minutes from start to finish, as long as you already have an API key.
Install from the directory
- In your WordPress admin, go to Plugins Add New.
- Search for Ruby Relay, or grab it directly from the WordPress Plugin Directory.
- Click Install Now, then Activate.
Once activated, the plugin adds a Ruby Relay entry to your WordPress admin sidebar.
Add your API key
Grab your workspace API key from the Widget Configuration Embed Code tab in your Ruby Relay dashboard. It's the same key used for the CDN and React installs, so if you've already set one up elsewhere, you can reuse it.
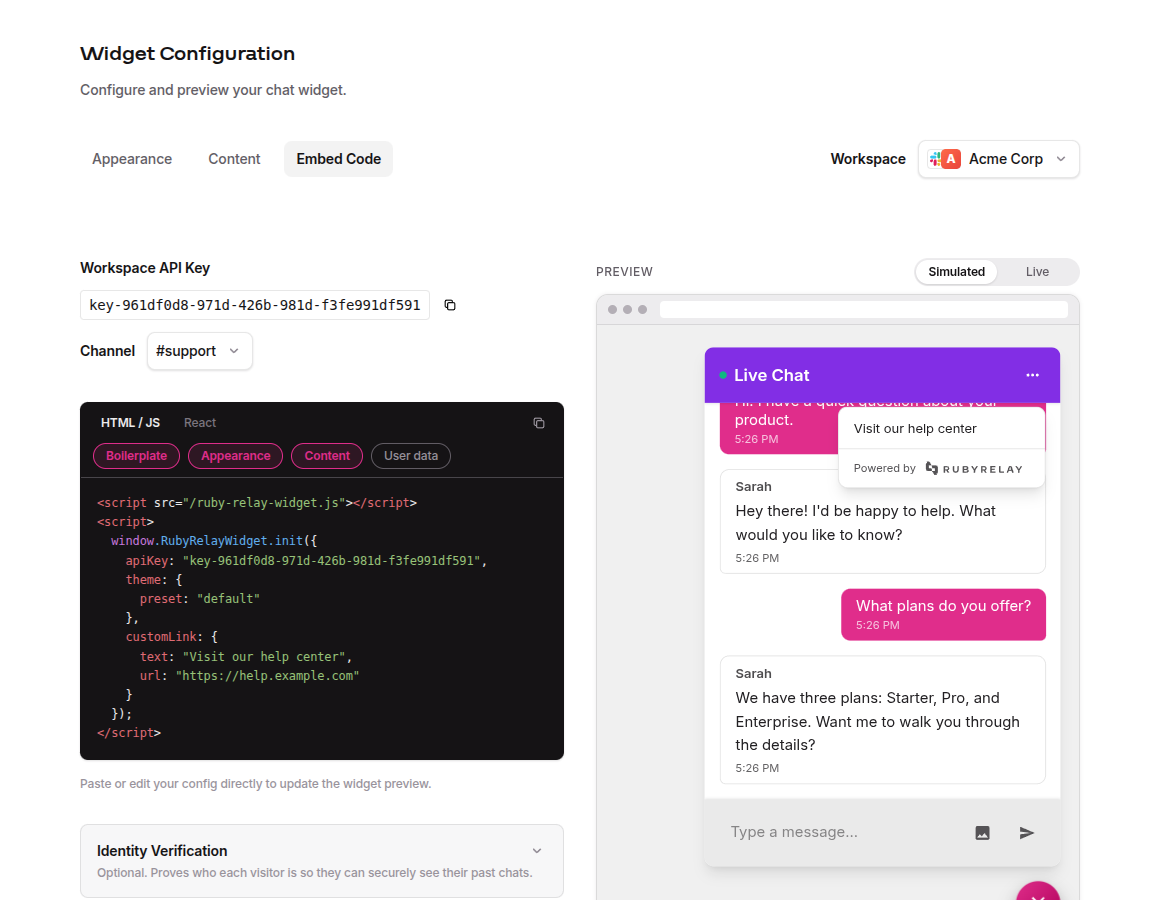
Back in WordPress, open Ruby Relay from the admin sidebar, paste the key into the API key field, and save. The widget starts loading on your site right away.
To start, every conversation lands in your workspace's default channel with no extra setup. If you'd like your site, or a particular section of it, to reach a different Slack channel, set that channel's alias in the plugin settings. You'll find each channel's alias on the Workspaces page; see Managing Channels for how channel routing works.
Haven't connected Slack yet? Start with Getting Started and Connecting Slack first, then come back here.
WooCommerce notes
WooCommerce is built on WordPress, so the same plugin handles both. Once activated, the widget appears anywhere your theme renders: storefront, product pages, cart, and checkout. Visitor messages route into your workspace's default Slack channel, unless you've pointed the plugin at a different one with its alias.
If you run a store, two things worth knowing:
- Checkout pages. The widget loads on checkout by default. If you'd rather hide it there to reduce distractions during purchase, you can scope it out with a per-page setting in your theme or a conditional snippet. We're happy to help, just email support@rubyrelay.com.
- Page builders. Elementor, Divi, Beaver Builder, and similar page builders all play nicely with the plugin since it injects the widget at the site level, not per-template.
Manual install (.zip)
If your WordPress site can't reach the plugin directory (locked-down hosting, offline environments, staging with restricted egress), you can install the plugin manually:
- Download the
.zipfrom the plugin page (use the Download button). - In WordPress admin, go to Plugins Add New Upload Plugin.
- Pick the
.zip, click Install Now, then Activate.
Verify it's working
- Open your site in a fresh browser tab (or incognito).
- Look for the chat bubble in the bottom-right corner.
- Click it, send a test message, and check your Slack channel.
- Reply from Slack. The message should appear in the widget.
If the bubble doesn't show up, the usual suspects are a caching plugin holding an old page, a CSP header blocking the widget script, or an API key typo. See below.
Troubleshooting
I activated the plugin but the widget isn't showing
Double-check you've saved an API key on the Ruby Relay settings page inside WordPress. Then clear any caching plugin (W3 Total Cache, WP Super Cache, LiteSpeed) and your CDN cache if you have one. Load the site in incognito to bypass your own browser cache.
The widget loads but messages aren't reaching Slack
This is usually a Slack-side issue, not a WordPress one. Head over to Connecting Slack for the checklist.
CSP or security plugin is blocking the script
Allowlistcdn.rubyrelay.comin your Content Security Policy'sscript-srcandconnect-srcdirectives. Security plugins like Wordfence occasionally flag third-party scripts, check their firewall log if things are quiet in Slack.
Still stuck? The full Troubleshooting guide has more, or email support@rubyrelay.com and we'll get you sorted.